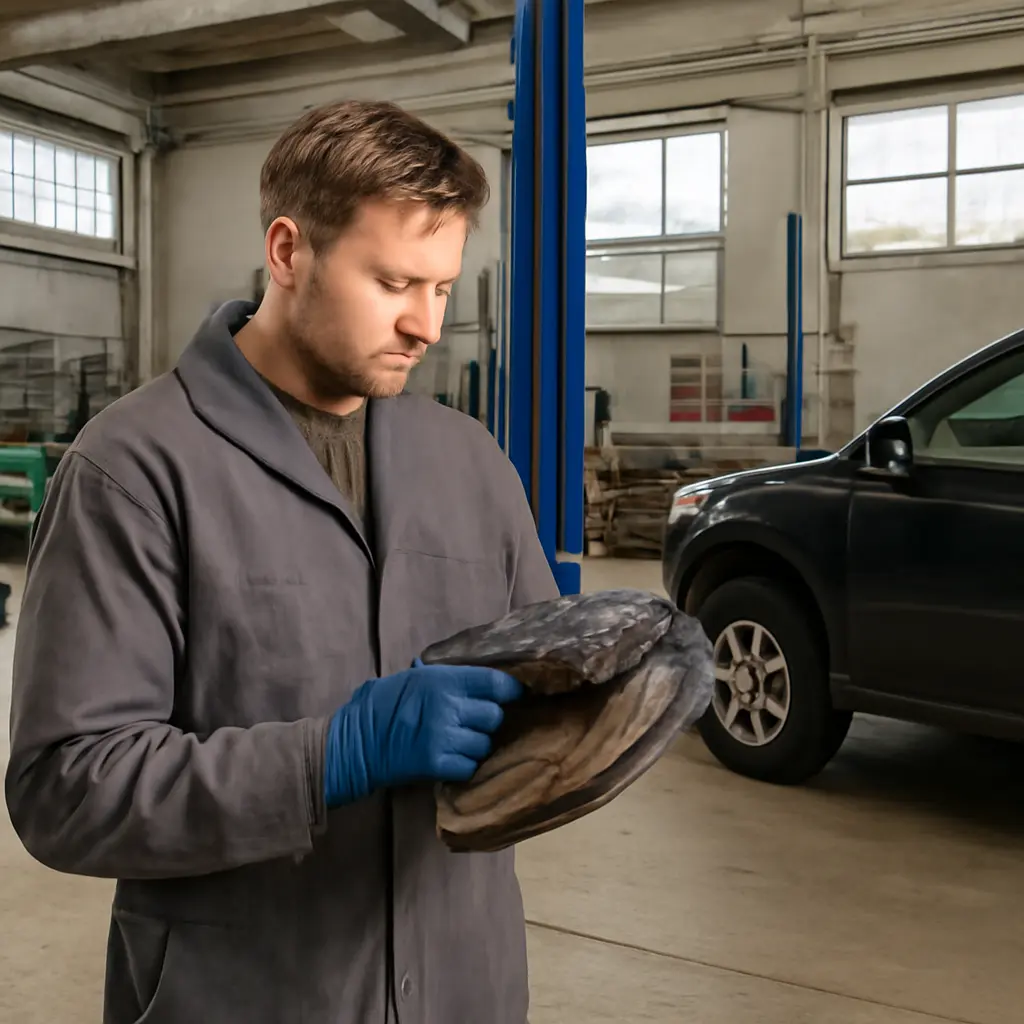
Used brake components are parts that have already been in service—such as pads, rotors, drums, shoes, calipers, hoses, or cables—and need inspection before they are trusted on a vehicle. Before your first ride, check that the parts are compatible, structurally sound, within the manufacturer’s wear limits, correctly installed, and tested at low speed. Brakes are safety-critical: the U.S. National Highway Traffic Safety Administration identifies brake problems among vehicle defects that can contribute to crashes, while the National Highway Traffic Safety Administration’s vehicle-maintenance guidance recommends regular inspection and attention to warning signs. A careful assessment cannot certify an unknown part’s history, but it can help identify damage, excessive wear, contamination, or incorrect fit before they become a hazard.
Inspection criteria for used brake components
An inspection is a check of a part’s condition and suitability against the vehicle maker’s specifications—not simply a visual judgment that it “looks fine.” The U.S. National Highway Traffic Safety Administration (NHTSA) advises drivers to respond to brake-system warning signs and follow the vehicle’s maintenance schedule. For used components, that principle means checking the part’s identity, wear, physical integrity, and operating behavior. Manufacturer limits differ by vehicle and component, so there is no universal safe minimum thickness or wear threshold.
The main categories are friction parts (pads, shoes, and linings), rotating parts (rotors and drums), hydraulic parts (calipers, hoses, and cylinders), and mechanical or electronic controls. A component may pass a visual check yet still be unsuitable because it is the wrong specification, has hidden damage, or came from an unknown or incompatible system.
Compatibility and service history
Compatibility means the part matches the exact vehicle, axle position, braking system, and manufacturer-approved specification. Verify the part number and application using the vehicle identification number (VIN), a reliable parts catalog, or a qualified technician. Do not assume that components from the same model name fit every year, trim, wheel size, or brake package.
Ask where the part came from, why it was removed, how long it was used, and whether it was exposed to a collision, flood, fire, or prolonged outdoor storage. A documented service history is more useful than a seller’s estimate of remaining life. If the history is unknown—especially for hydraulic components or parts involved in a crash—replacement with new, correctly specified parts is generally the safer choice.
Wear limits and friction surfaces
Wear assessment compares the remaining friction material or component dimensions with the vehicle manufacturer’s service limit. Measure pad or shoe material at more than one point because uneven wear can indicate a sticking caliper, seized slide, misalignment, or another fault. For rotors and drums, use an appropriate measuring tool and compare the result with the minimum thickness or maximum diameter marked on the part or specified in the service information.
Look for cracks, deep scoring, heavy corrosion, heat spots, glazing, delamination, and uneven surfaces. The U.S. Department of Transportation’s Federal Motor Vehicle Safety Standard No. 135 establishes performance requirements for light-vehicle braking systems, but it is a vehicle-level standard, not a rule that determines whether a particular used part is serviceable. The applicable repair limit must come from the vehicle or component manufacturer.
Condition checks for friction and rotating parts
Once compatibility and service limits are established, inspect friction and rotating parts together. Their surfaces work as a matched braking interface: a damaged rotor can rapidly affect pads, while contaminated or uneven pads can compromise a rotor’s performance. Replacing only the visibly damaged item may leave the underlying cause unresolved.
Brake pads, shoes, and linings
Friction material converts motion into heat when pressed against a rotor or drum. Reject pads or shoes with oil, grease, brake fluid, or other contamination; cracked or separating material; missing chunks; or wear below the specified limit. Compare inner and outer pads, or left and right sides, for uneven wear. A pronounced difference can signal a mechanical or hydraulic problem that should be diagnosed before riding.
Some brake-pad designs include wear indicators, but their presence does not replace measurement. Never try to restore friction material by sanding, washing, or applying chemicals unless the manufacturer specifically permits a defined procedure. Contaminated porous material may remain unsafe even if its surface appears clean.
Rotors and drums
Rotors and drums must be measured and checked for damage, not judged solely by appearance. Inspect for cracks, severe pitting, deep grooves, blue or dark heat discoloration, and a pronounced lip or scoring. Measure rotor thickness at several points around the braking track; variation can indicate uneven wear or runout. For drums, check diameter and surface condition against the maker’s maximum service diameter and repair criteria.
A rotor or drum below its service limit must not be reused. Heat discoloration, cracks, or substantial surface damage warrant professional evaluation or replacement according to the service manual. When new friction material is fitted, follow the maker’s instructions on rotor condition, machining, cleaning, and bedding-in; bedding procedures are product-specific and cannot make a structurally defective part safe.
Checks for hydraulic, mechanical, and electronic brake parts
Friction parts depend on the rest of the system to apply and release braking force. Hydraulic leaks, corroded hardware, damaged cables, or sensor faults can make otherwise acceptable pads and rotors perform unpredictably. Inspection should therefore include connected components and warning indicators, not just the parts that are easiest to see.
Calipers, wheel cylinders, hoses, and brake fluid
Hydraulic components transmit pressure through brake fluid. Check calipers and wheel cylinders for leaks, corrosion, damaged dust boots, seized pistons, and uneven movement; inspect hoses for cracks, bulges, abrasion, kinks, or wetness. Any fluid leak or visibly damaged hose is a stop-use condition until repaired. Do not rely on a firm pedal alone to rule out a leak or internal fault.
Brake fluid condition and replacement interval depend on the vehicle maker’s instructions. Use only the specified fluid type and avoid mixing incompatible fluids. If the fluid’s history is unknown, has been contaminated, or the hydraulic system has been opened, follow the manufacturer’s bleeding and replacement procedure—or have a qualified technician do it. Hydraulic parts with uncertain provenance can have internal deterioration that is not apparent from an external inspection.
Cables, hardware, sensors, and warning lights
Mechanical parts include parking-brake cables, return springs, clips, pins, and adjusters. Check for fraying, binding, corrosion, missing retainers, and incorrect assembly. Reuse hardware only where the service instructions permit it; some clips, seals, or fasteners are designated for replacement during repair.
Vehicles with anti-lock braking systems (ABS) may also have wheel-speed sensors, tone rings, wiring, and control-system faults to consider. Confirm that dashboard brake and ABS warning lights behave as described in the owner’s manual. A warning light that remains on, an unexpected pedal change, or a stored brake-system fault should be diagnosed before the vehicle is used on the road.
Safe installation and first-ride validation
Even sound parts can be unsafe if installed incorrectly. Follow the vehicle’s service manual for lifting points, fastener torque, lubrication locations, adjustment, fluid handling, and bleeding. Keep friction surfaces free from grease and use only approved products where specified. If you lack the correct tools, technical information, or experience, have a qualified brake technician inspect and install the components.
Pre-ride checks
Before moving, verify that wheels and fasteners are correctly secured, the brake pedal or lever feels consistent, the parking brake operates as intended, and no fluid is leaking. If hydraulic work was performed, confirm the system has been properly bled and that the pedal does not sink under steady pressure. Recheck warning lights and follow any required diagnostic or calibration steps.
Controlled low-speed test
Test the brakes in a clear, low-traffic area at walking speed before entering public traffic. Apply the brakes gently, then progressively, checking for a straight stop, consistent response, unusual noise, vibration, pulling, or a soft or sinking pedal. Stop testing and do not continue riding if braking feels abnormal, a warning light appears, or leakage is found. Do not use a road test to compensate for a failed inspection.
For example, if a used pad set has uneven thickness, the appropriate response is not simply to install it and see whether the vehicle pulls. The wear pattern may point to a sticking caliper or guide pin. Diagnose that cause, compare all related components with service limits, and repair the system before the first ride.
Conclusion: verify, measure, and test before riding
Assessing used brake components means verifying compatibility and history, measuring wear against manufacturer limits, inspecting friction and rotating surfaces, and checking hydraulic, mechanical, and electronic parts as a system. No single visual check can establish that an unknown component is safe. When a part is cracked, contaminated, leaking, below its service limit, incorrectly specified, or of uncertain critical history, do not use it.
Before your first ride, use the vehicle’s service information, obtain professional help when needed, and complete a controlled low-speed test only after the inspection and installation pass. For further guidance, consult the owner’s manual, the official service manual, and the component manufacturer’s instructions.
Sources: National Highway Traffic Safety Administration, Vehicle Maintenance, https://www.nhtsa.gov/vehicle-safety/vehicle-maintenance; Electronic Code of Federal Regulations, 49 CFR § 571.135—Standard No. 135; Light Vehicle Brake Systems, https://www.ecfr.gov/current/title-49/subtitle-B/chapter-V/part-571/subpart-B/section-571.135; National Highway Traffic Safety Administration, Recalls, https://www.nhtsa.gov/recalls.